|
||
|
||
| ||
|
||
|
||
| ||
Part Two
[ Part One ]
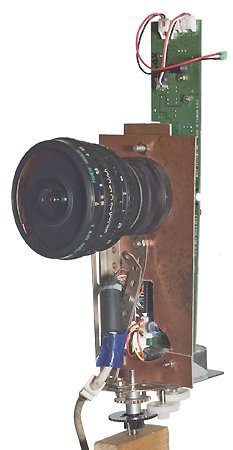
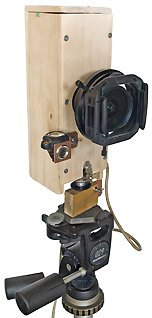
The experiment, described in the first part of the article, proved that a panoramic camera based on a scanner worked all right. But it worked as a clock that showed the correct time twice a day for it had stopped. The first camera had no real mechanism to control exposure, it only allowed to wait for the illumination conditions to come to terms with the hardcoded exposure and aperture. The easiest way to control exposure steplessly is to use a lens with changing aperture. Sloppily installed T - 43 with the focal distance of 40 mm the relative aperture from 1:4 to 1:16, taken from Smena 6, showed that we move in the right direction. 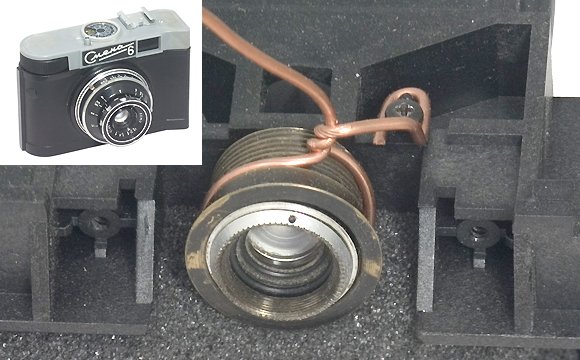 All I had to do was to provide an opportunity to use standard interchangeable lenses with this camera. Remains of the scanner chassis were dumped. The only thing preserved was a PCB with a matrix. Two foil-clad paper-based laminate sheets were screwed to it to grip a 6[mm]mm M42-pitch extension tube between them. A combination of another three slightly-filed tubes provided a flange focal length of 45.5 mm. Foamed polyurethane padding served as an additional light intercepting device. I put a chips can on the PCB to protect it from weather exposure.
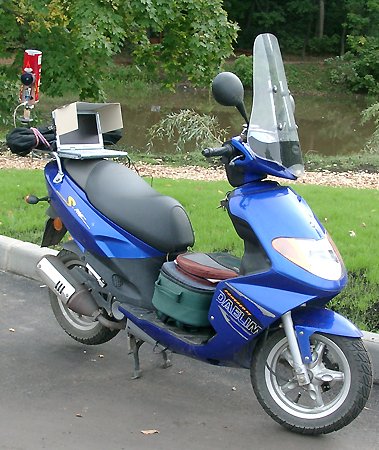
Even though the scanner got rid of the lamp, its power consumption was still high. Lithium-Ion batteries from a notebook were also too old and their run-down time was below half an hour. So I faced a thorny question of additional power supply to allow off-line operation. 12 V is a widespread standard, you can use a car accumulator or batteries from an UPS, considering my accumulated stock of half dead 12 V accumulators from a scooter and a fresh accumulator from my PREDATOR UPS. The latter has been standing a silent reminder that the warranty from reputable firms guarantees troubles and legwork. At first I paid two visits to a service center: at first to turn in the UPS and then to get it back unrepaired, as the service center found out that their agreement with the retailer had been over. After that the UPS, delivered to the retailer, was nevertheless repaired, probably in that very service center. After the repairs, it worked for less than an hour and then broke due to another defect. Considering that the transportation efforts and the time wasted obviously exceeded the cost of this device, while good accumulators are rare, I decided to stop my attempts to realize my right to warranty repairs and use the available batteries for my panoramic camera. However, if 12 V turned out quite enough for the scanner, even though it must have 15 V, the notebook needs 15 V. DC conversion has made great progress in my life. I had solved this problem with a vibration transducer, like in a KSP, or a dynamotor. (Dynamotor resembles a DC ringer. A plate vibrates in a magnetic field and interrupts the circuit, converting direct current into surge current. Dynamotor is an electric DC machine with one or several windings on its armature. One of them is powered by an external power supply and serves to develop a torque (motor winding), the other windings are DC power sources (generator windings). It serves to convert DC voltage.) After 30 years, a small unit from VANSON does an excellent job of converting 12 V into 15 V, demonstrating decent efficiency. A 12 V battery (3 ampere-hour) together with this device provide 1.5 hours of work for my camera and notebook. Unfortunately, the generator from my scooter did not come up to my expectations, as it failed to supply necessary current at idling speed. It was good only for charging the batteries. 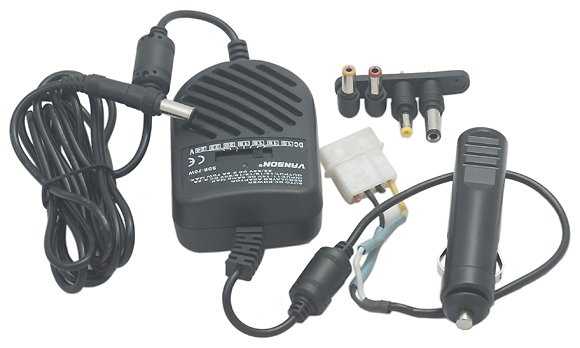 The device is equipped with a converter, plugged into the cigarette lighter socket in your car. As I have no car, to say nothing of the cigarette lighter socket, it was substituted for a connector from a PC PSU.
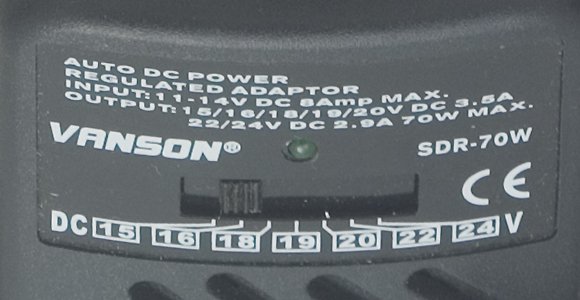 VANSON SDR - 70 W PSU takes in 11-14 V, 8 A and outputs 15/16/18/19/20 V, 3.5 A, or in case of 22/24 V input - 2.9 A.
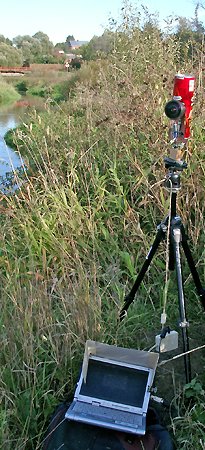
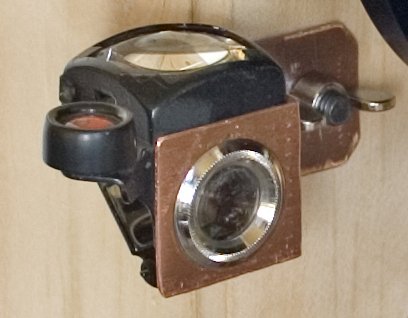
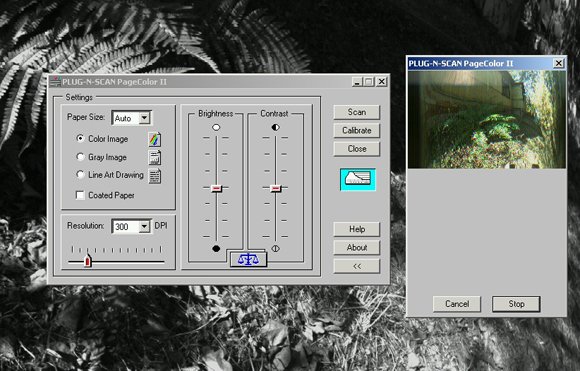 The shooting process comes to starting a scanner driver on the computer. TWAIN driver may be started from the majority of graphics editors, but IrfanView turned out the quickest application in batch mode. In this case the shooting process comes to starting camera rotation and stopping it after it turns at a necessary angle. The scan process is displayed as a miniature in real time. Right after the scan process is completed, the image is automatically saved to disk and displayed on screen as 1:1. Images can be saved either as JPEG or as TIFF. The B/W scan mode is more convenient, when you evaluate sharpness. In this case, the image does not need post processing, as its channels are not shifted (see Part I). It takes about a minute and a half to scan a black and white cyclorama, about four minutes for a color one. To facilitate determining the scan start point and installing it strictly horizontally, the latest modification of the camera was equipped with a viewfinder and a level gauge from a Fotokor camera.
Image samples, taken with various lenses: 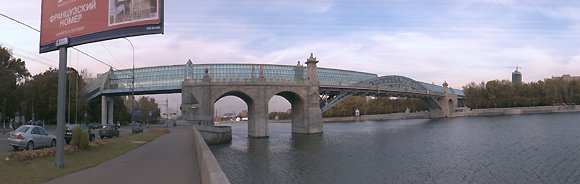 Mir-1 lens (focal distance 35 mm) with a heat filter from a Kiev-66 slide projector. 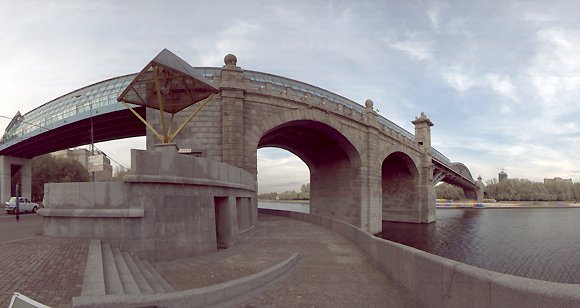 Zenitar lens, focal distance - 16 mm, without additional color filters. White balance correction was done in a graphics editor.
 Peleng lens, focal distance - 8 mm. White balance correction was done in a graphics editor. Field of this lens is 24 mm, which is a tad smaller than the bar with photosensitive elements (28 mm). But instead, this lens provides correct proportions from the very beginning.
As you can see from the photos above, you can achieve tolerable color rendition by correcting the files in a graphics editor, but not better. It's great to have sensitivity to IR region. Even without filters, which skip the light waves only longer than 800 nm, the black-and-white image, formed by the light both from visual as well as from infrared ranges, looks very interesting. In this case, the daylight is superfluous and slopping the lens down allows to ignore that focus points for these ranges are somewhat different. 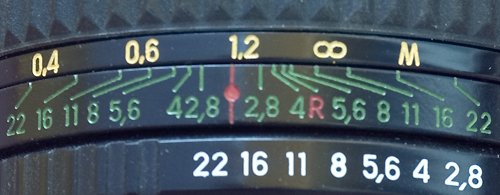 The range scale of Zenitar lens. Distances for shooting in the IR region are set relative to R.  Transmission graph of IKS1 and IKS3 filters.
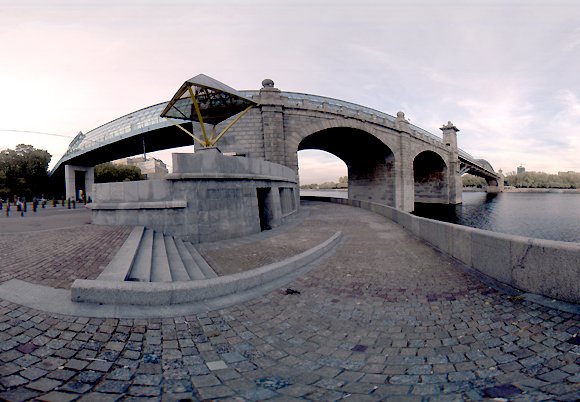
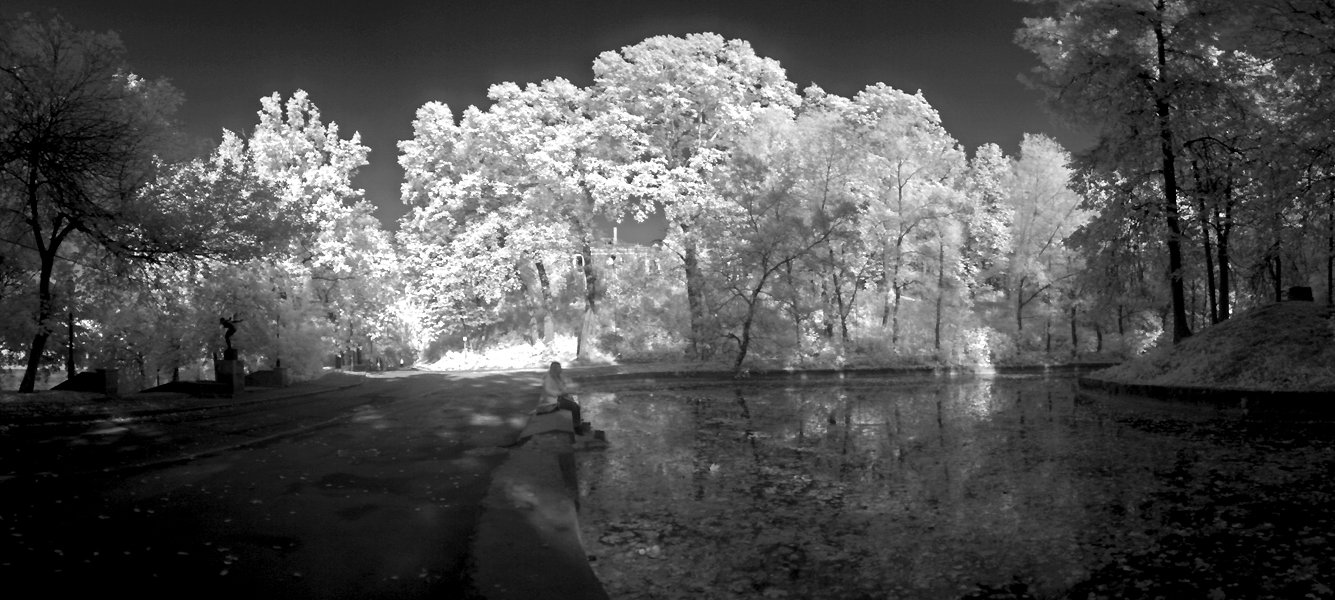 Sunlit foliage near a pond in the Neskuchny orchard. Zenitar. IKS1 filter. As the original images are too large, you can see the full size image (downsampled as approximately 1:4, 600 pixel in height) by clicking on this miniature. 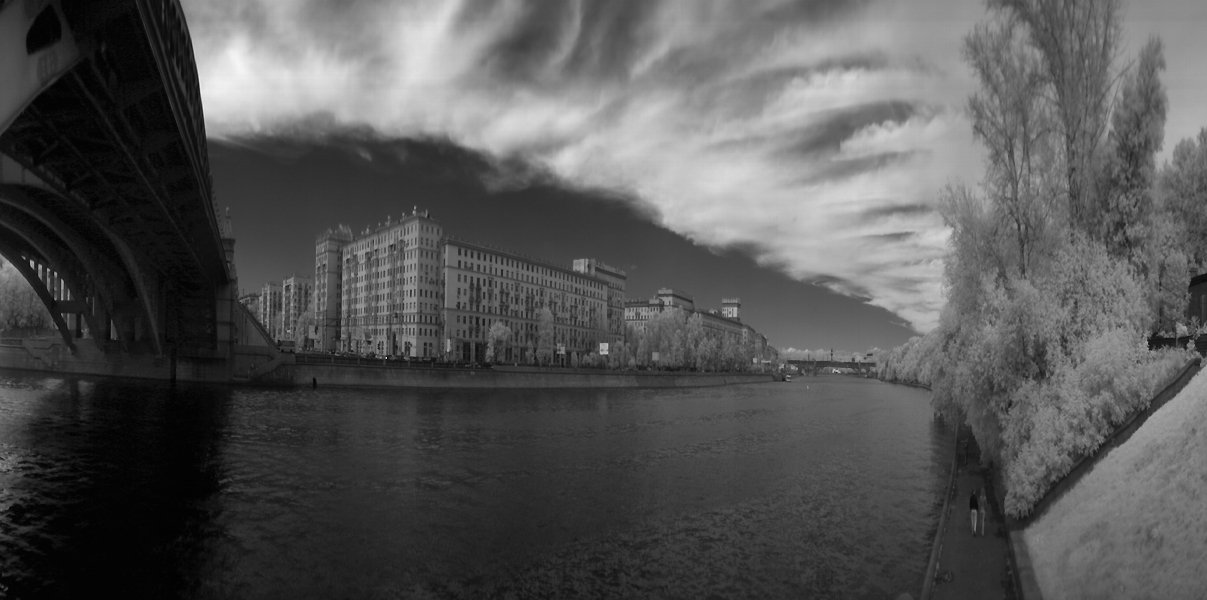 View of Frunzenskaya quay Zenitar. Black-and-white photo without a filter. 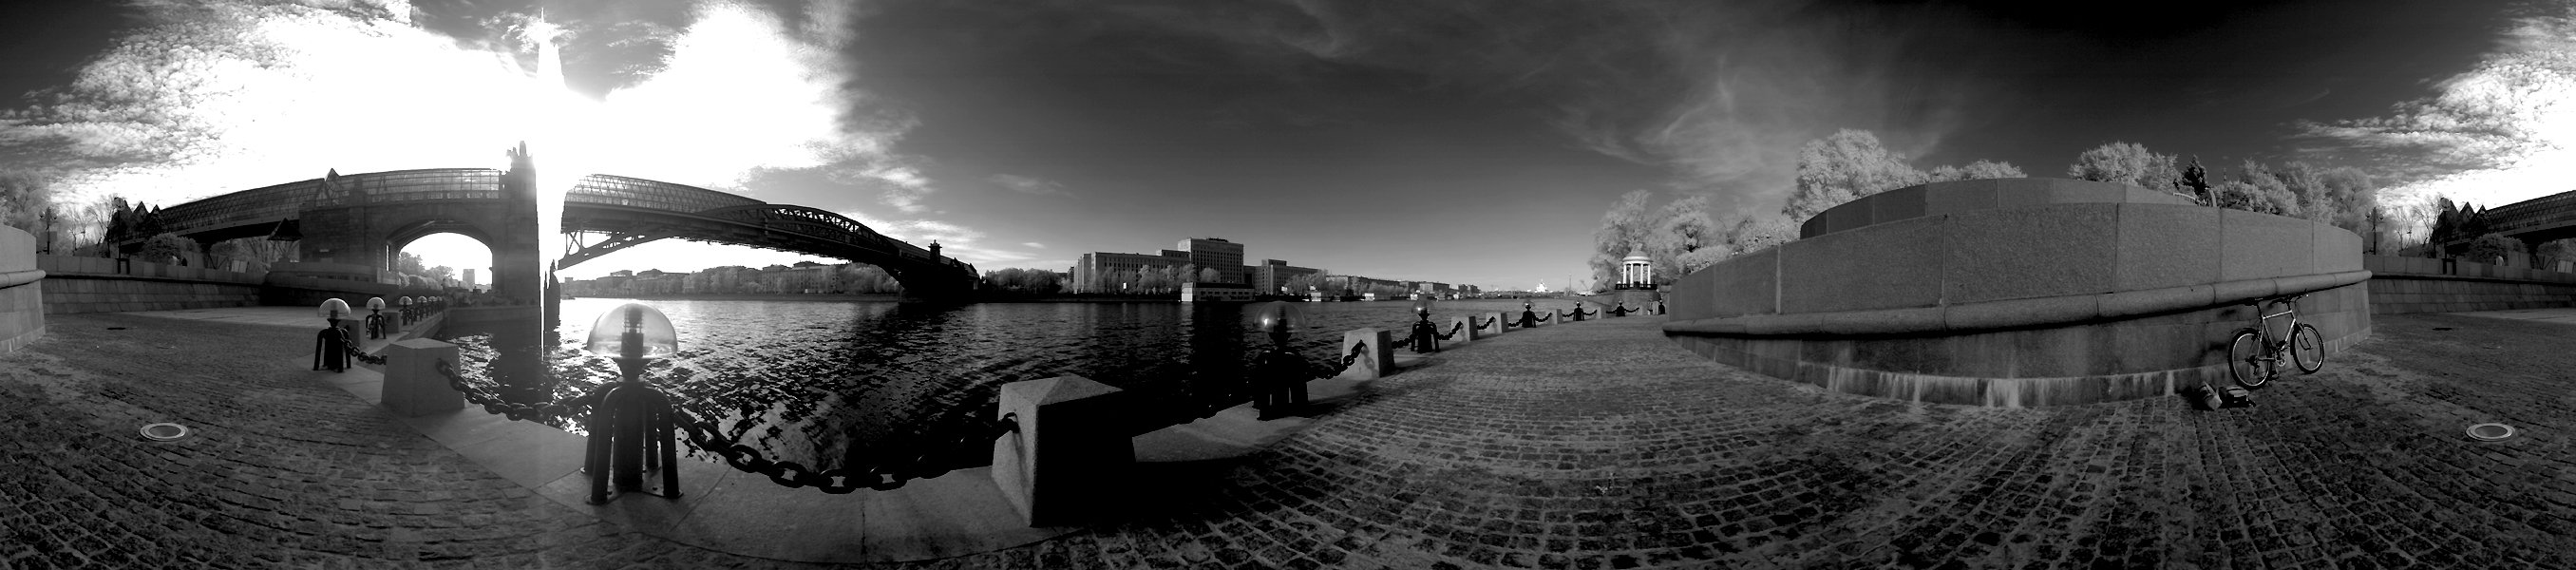 View from Pushkinskaya quay. Zenitar. Black-and-white photo without a filter.  View of the quay house. Zenitar. Black-and-white photo without a filter. 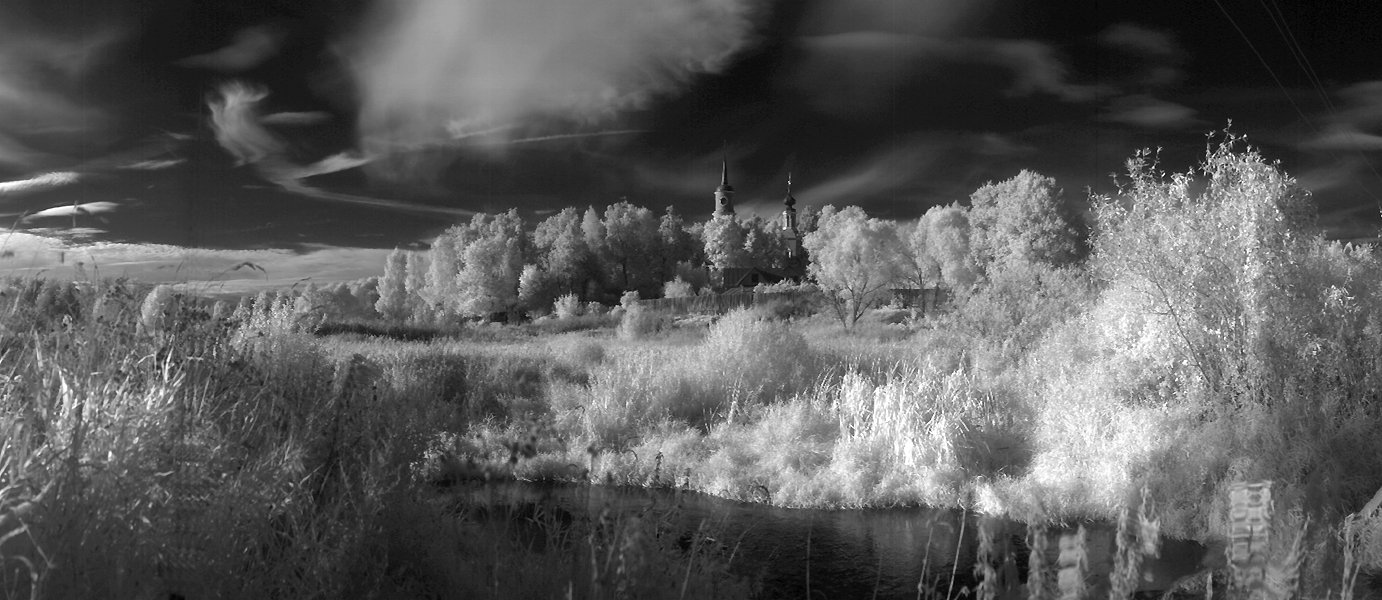 View of the Desna riverside. Mir1. IKS1 filter. The situation with color images is more complex: 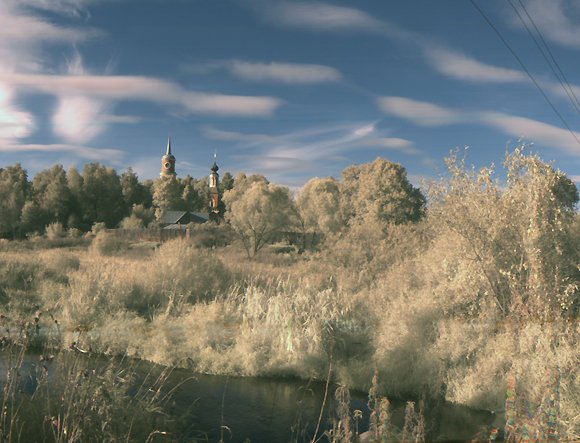 Sunlit foliage reflects heavily in the IR specter so that the signals in green and red channels get practically the same. Summer-green verdure gets autumn hues and autumn colors stop contrasting with non-dry foliage. All in all, solid khaki or horse shit color - it was a popular camouflage color in all armies of the world in the first half of the XX century for a reason. To improve the situation, you have to use filters, for example like those installed before the matrix of the Casio QV 3000 digital camera.  Transmission graph of a filter, installed before the matrix in Casio QV 3000, which I used for color shooting with the Peleng lens. 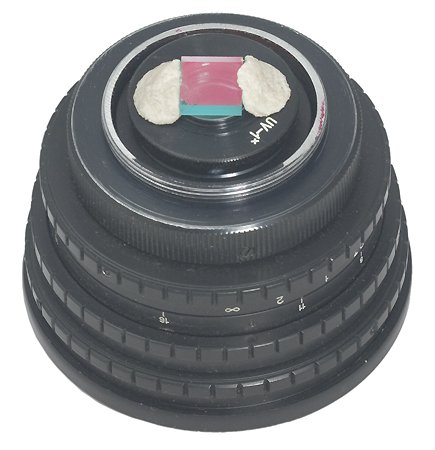 The filter is too small to be installed before the matrix or the lens. So I had to fix it with chewing gum behind the last lens in Peleng. It's a standard situation for wide-angle lenses. Filters, specially designed for this lens, are also screwed on it from behind. But they are much thinner. Using a thicker filter results in a longer flange focal length: longer than the distance, which can be compensated by rotating the distance ring of a given lens. This lens needs another set of extension tubes for comfortable use, so that the distance on the lens dial with a filter installed is true. 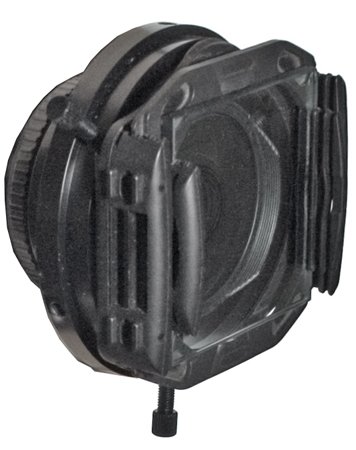 Cokin compendium with a heat filter from a Kiev-66 slide projector (below). 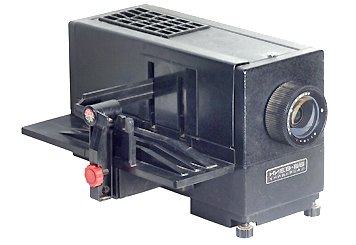 Fortunately, the heat filter from the Kiev-66 slide projector absorbs well IR emission and has such impressive dimensions that can be put in front of the front lens of such a wide-angle lens as Zenitar. Original filters from this lens are also installed after the last lens, that's why it has no threading before the front lens. I had to use Cokin compendium with universal mounting in the form of a tube with three screws, abutting against the lens mount. As a result: 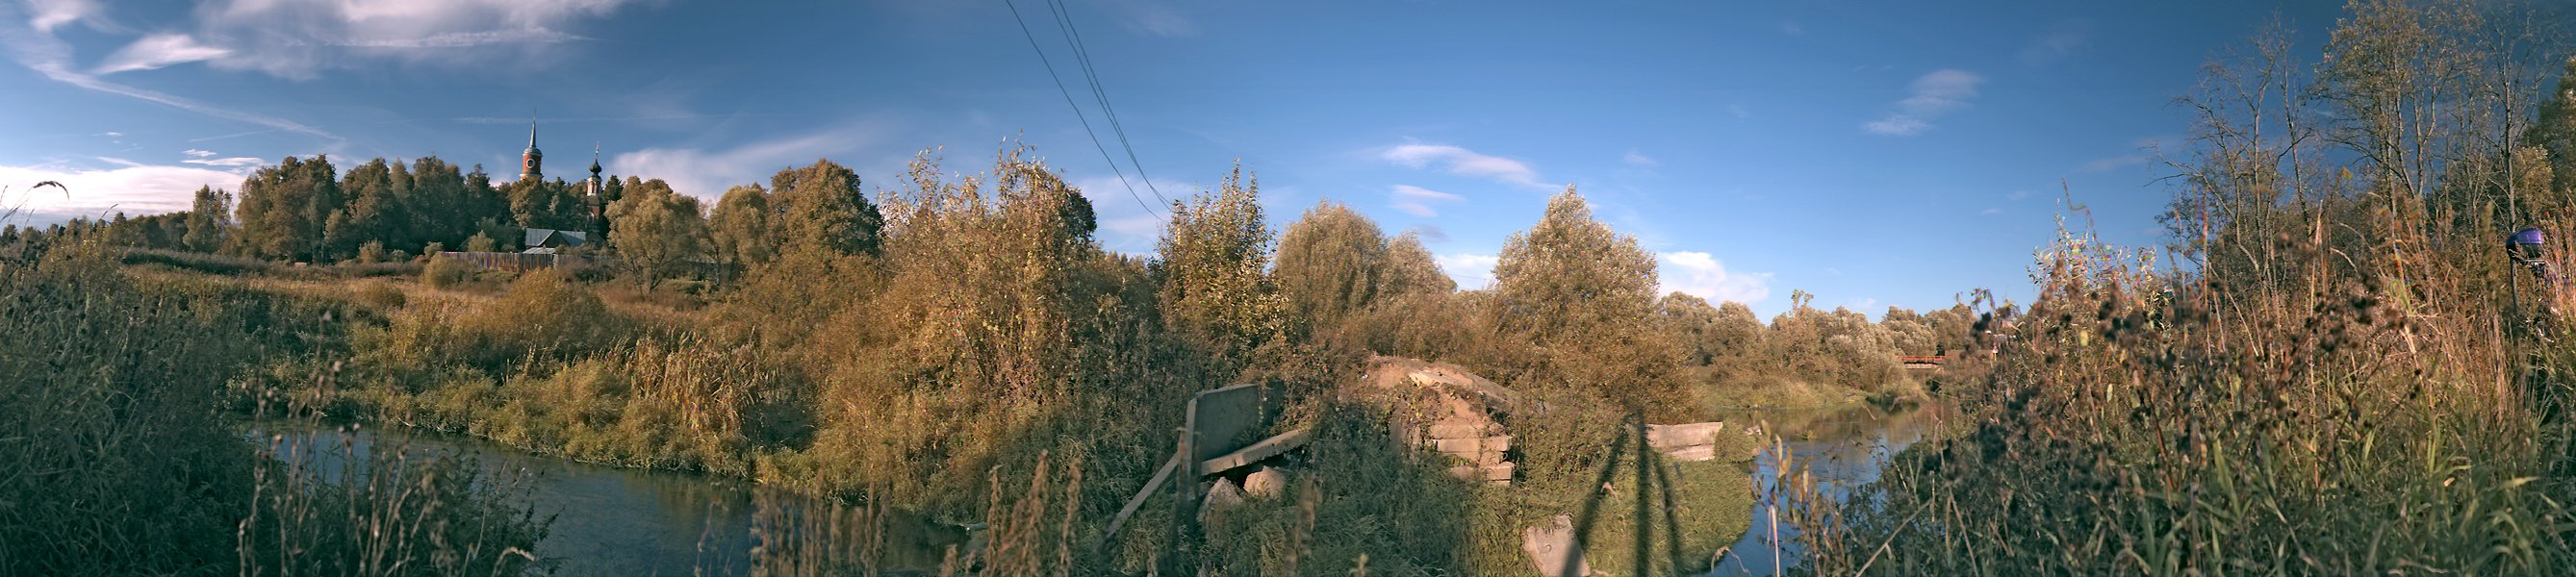 Mir 1. The Desna river. 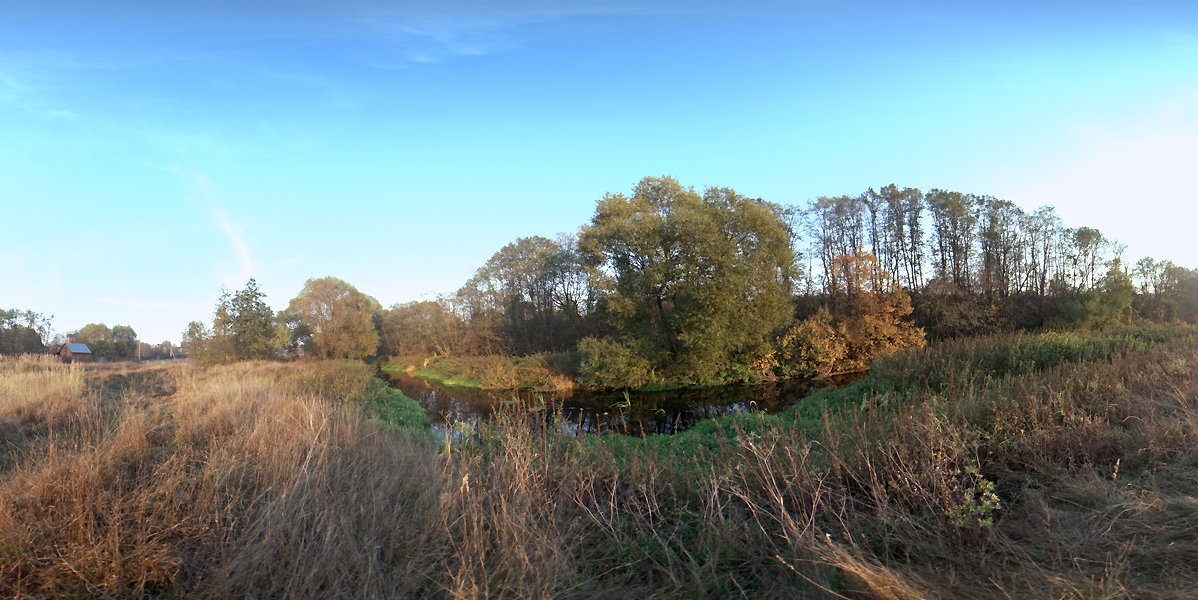 Peleng. The Desna river. To be continued. In the third part of the article I'll dwell on peculiarities and problems of shooting with this camera. I'll draw a bottom line under what has been achieved, evaluate capacities of cameras of this class, and analyze courses of development. October 20, 2005 Write a comment below. No registration needed!
|
Platform · Video · Multimedia · Mobile · Other || About us & Privacy policy · Twitter · Facebook Copyright © Byrds Research & Publishing, Ltd., 1997–2011. All rights reserved. |