|
||
|
||
| ||
|
||
|
||
| ||
First of all, to prove that the test suite is not that artificial, I must say that it has a certain plot. So, when a guy wants to build (or disassemble) anything he goes to a garage. It's the first reason why a garage is a polygon for our tests. The second reason is that a garage is an excellent dump of all possible things. So, we have a shabby garage with an old auto (to realize as many effects as possible :). Some stuff, including a number of tools each of which fully uses one of the renderer's features, hangs on the walls. The most important tool is a workbench where various experiments are carried out. I.e. every effect can be examined on several different objects which, in their turn, could use one of them. Scenes for Brazil r/s1. Brazil_Caustic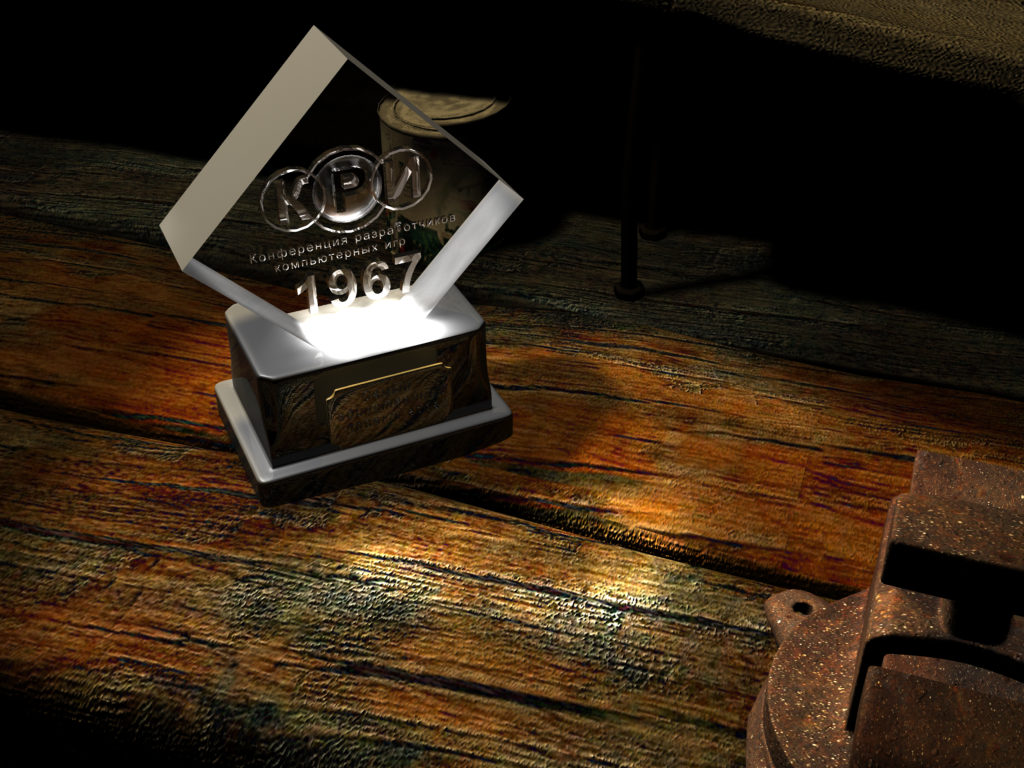 This scene tests the CPU speed by rendering the Caustic effect with the SplurtterFish Brazil renderer. The object is a monument-souvenir made of glass with the imprinted memorable sign and a wooden desk. For the desk the power of photons was increased up to 1.7 (Power=1.7), all the other settings are default. 2. Brazil_DOF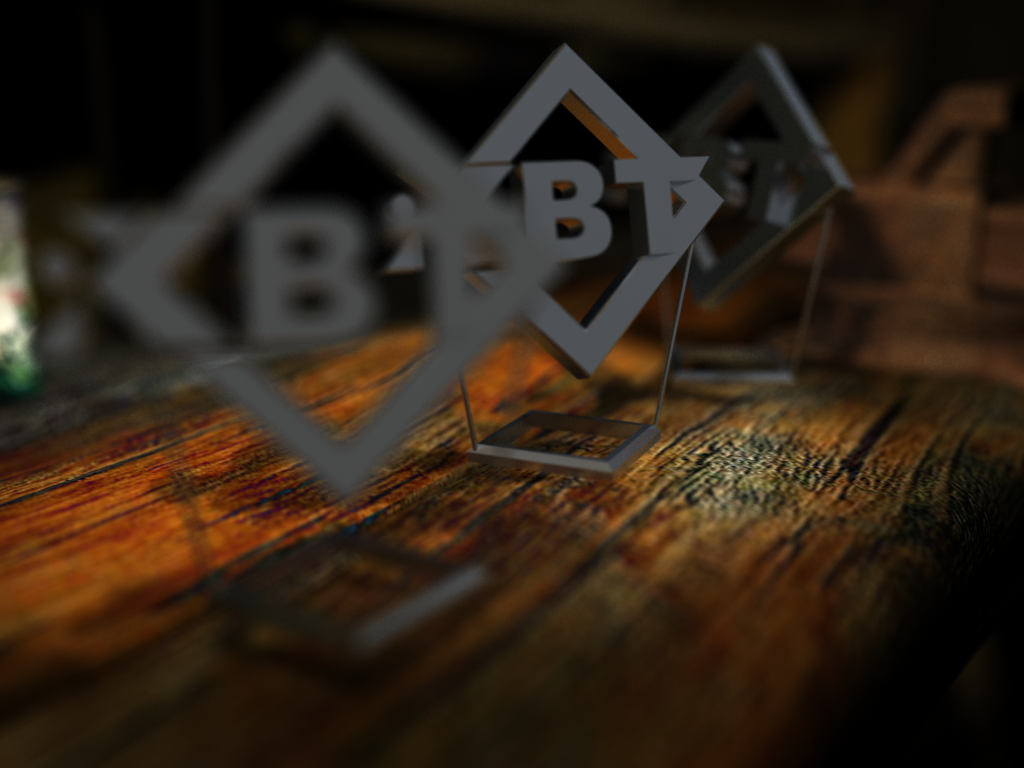 This scene tests the rendering rate for the Depth Of Field effect. The scene is simple: it uses three objects located at different distances from the camera, with the central one being in focus. All the settings are default except:
3. Brazil_GI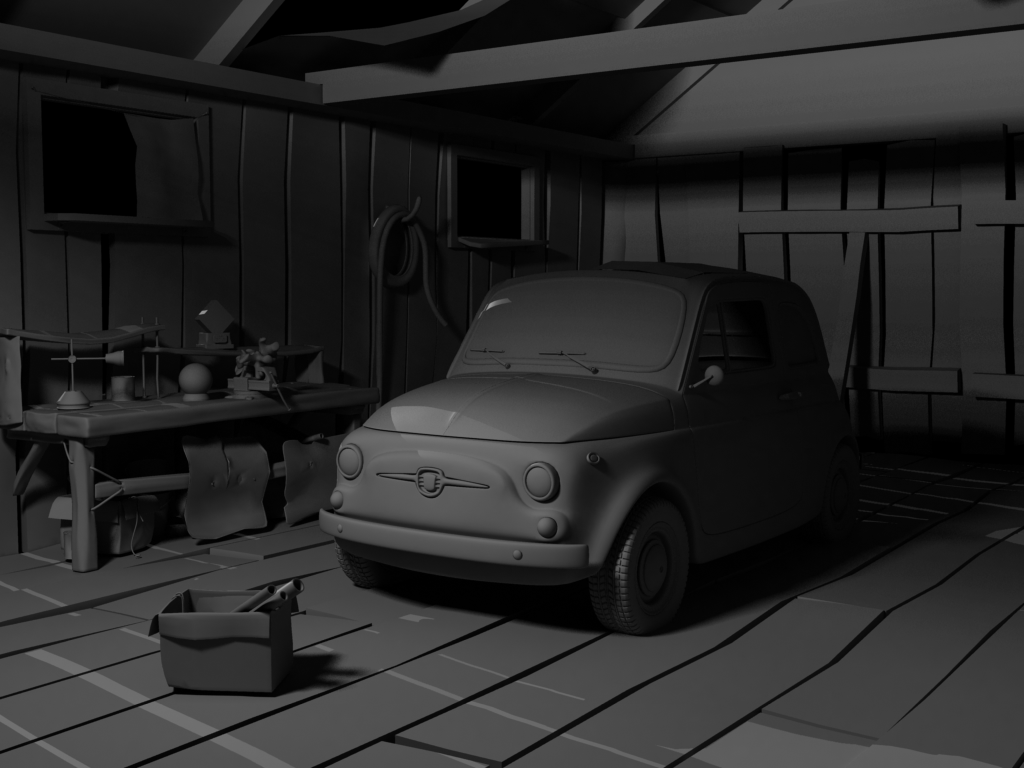 GI - Global Illumination. It actually uses the Brazil_Final scene (see below) but the final scene doesn't contain any textures so that we can focus on the global illumination scene. All the settings are default. 4. Brazil_Final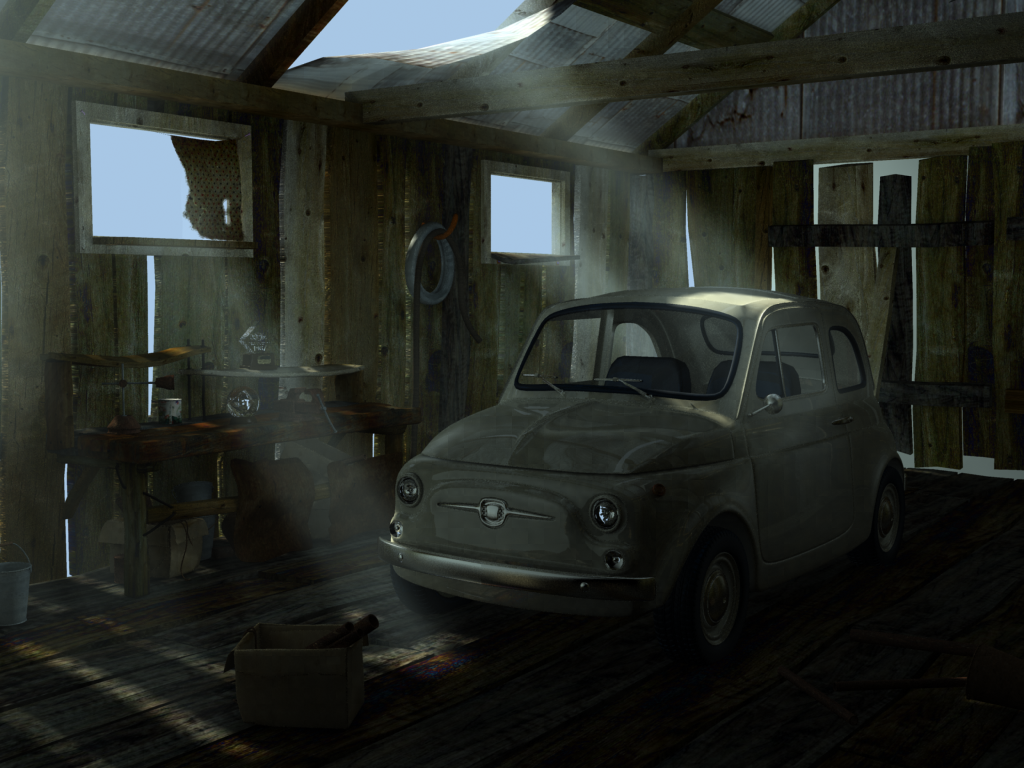 The final scene displays a realistic version, i.e. the product which can be created by a designer when he works on a real task. This scene doesn't use such trendy stuff like caustic effects but uses the effects most popular among 3D designers: Global Illumination, Antialiasing, Raytrace, Volume Light etc. Settings:
5. Brazil_Preview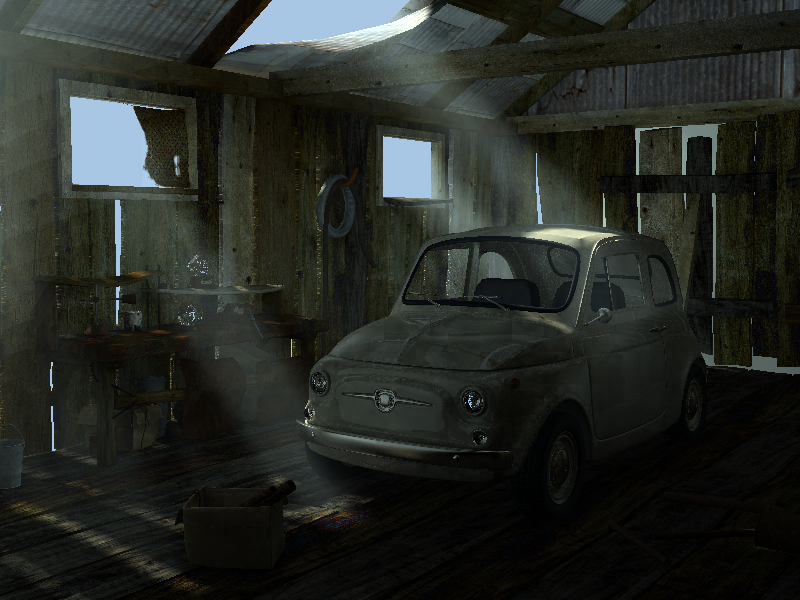 This subtest tests operations frequently fulfilled by designers - they reduce the resolution and quality settings in order to increase the rendering speed and visually estimate the outcome. The preview performance is as important as the final rendering because it has to be carried out a dozen of times (the final rendering ideally takes place only once). Brazil_Final scene with the following settings:
Scenes for Final Render Stage-11. FR_Caustic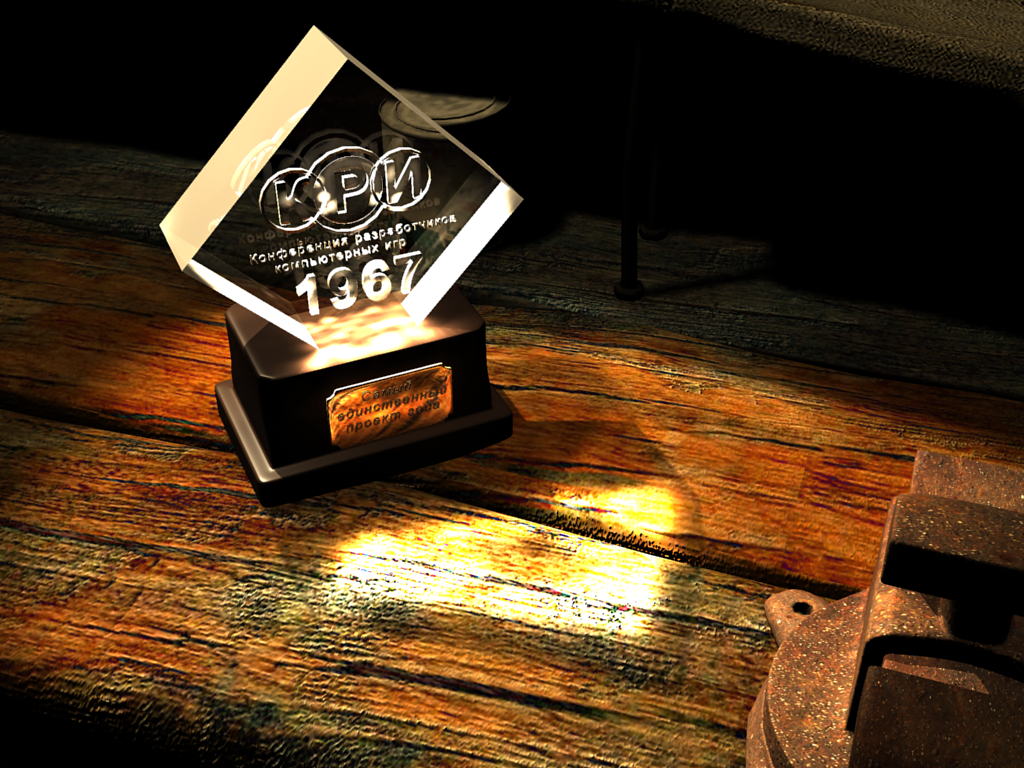 The scene is identical to the one for Brazil renderer, though in this case it uses the Final Render. The light source settings are modified:
2. FR_GI The scene looks familiar - we saw a similar picture in the scene of testing the global illumination speed with Brazil. This test uses a different engine (Final Render / fr-image). The GI settings are default, only the AA settings are changed:
3. FR_Displace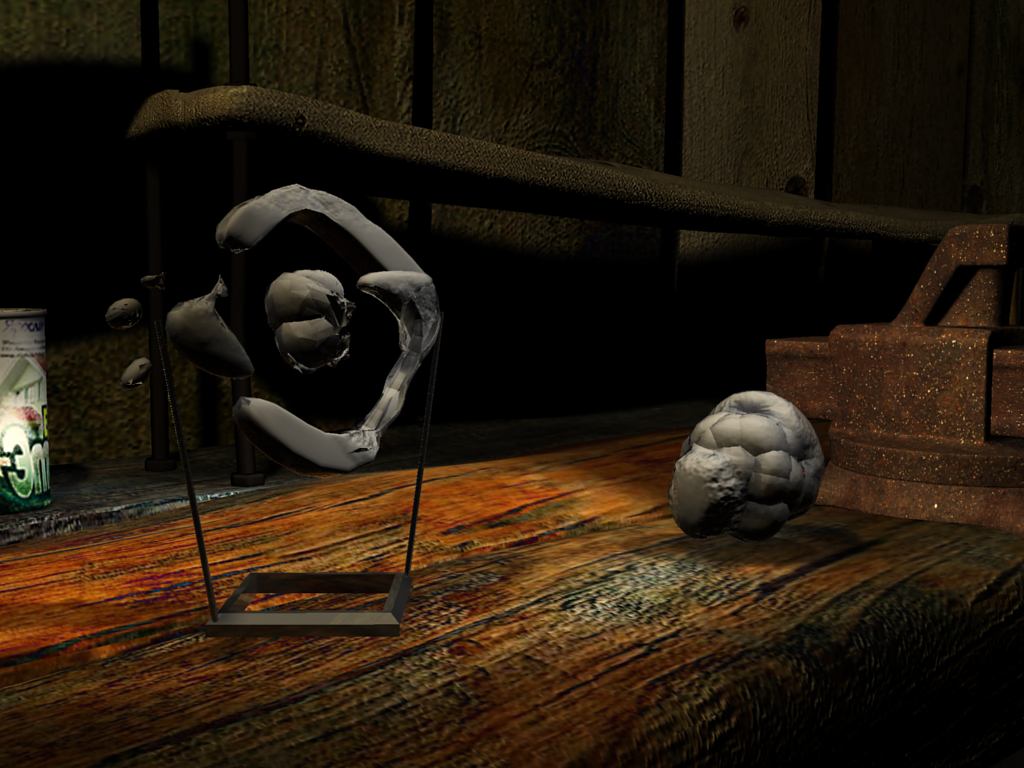 This scene allows estimating the testbed performance when rendering the Micro Triangle Displacement effect. The key objects are a logo on the support and an ordinary ball lying on the workbench used if the Displace effect is not that well seen with the logo. The following default settings were modified:
4. FR_SSS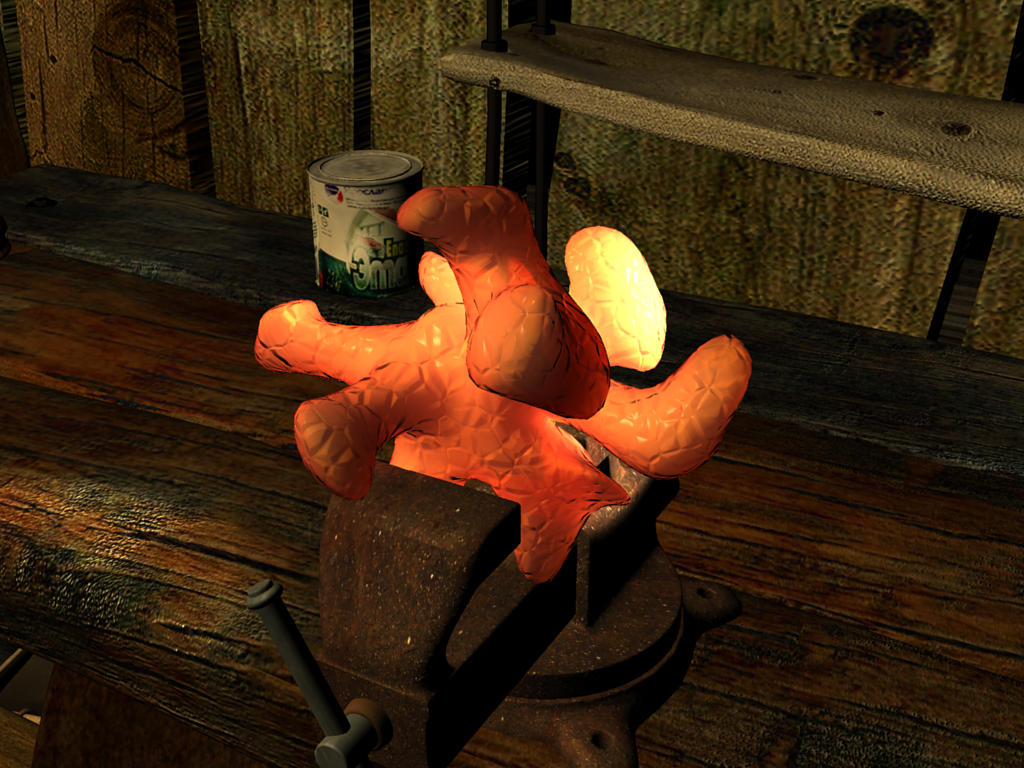 One more single-effect scene, Sub-Surface Scattering rate is measured. The parameters modified:
5. FR_Volume_Light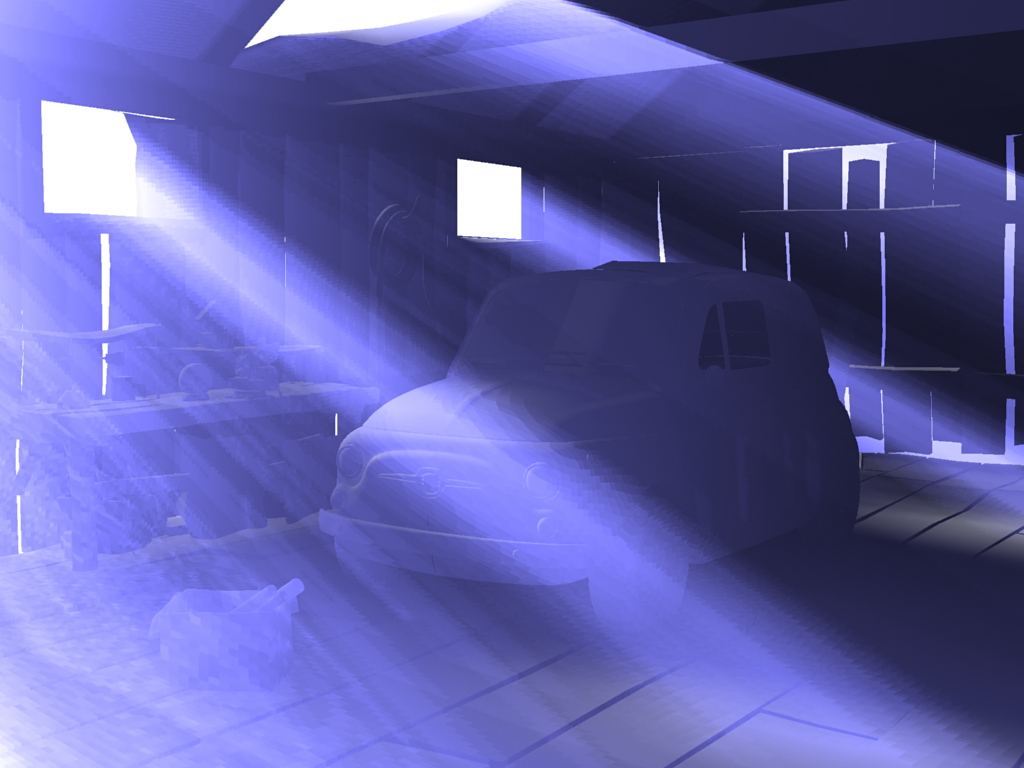 fR-Volume Light. The test is primitive: a volume light source and holes. The following default settings were modified:
6. FR_Volume_Caustic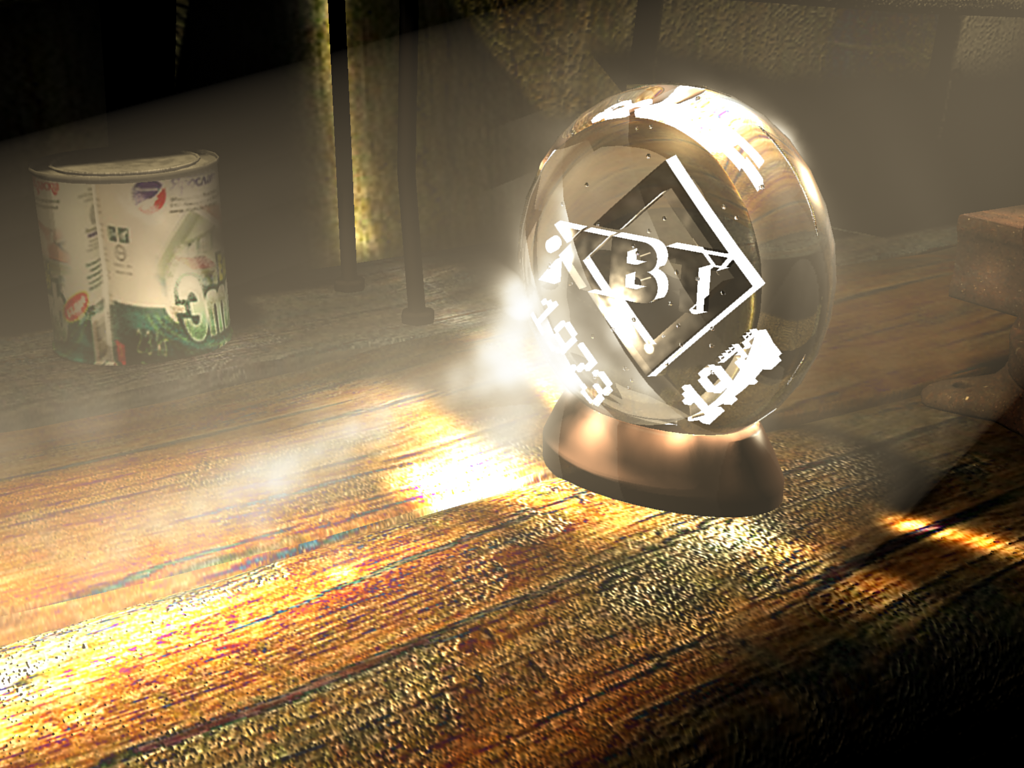 This test estimates the rendering rate of the volume caustic (the surface one is also enabled). A ball or a magnifier suit best of all for this test. As a result, the designer made a kind of a ball-shaped magnifier. Settings:
7. FR_Final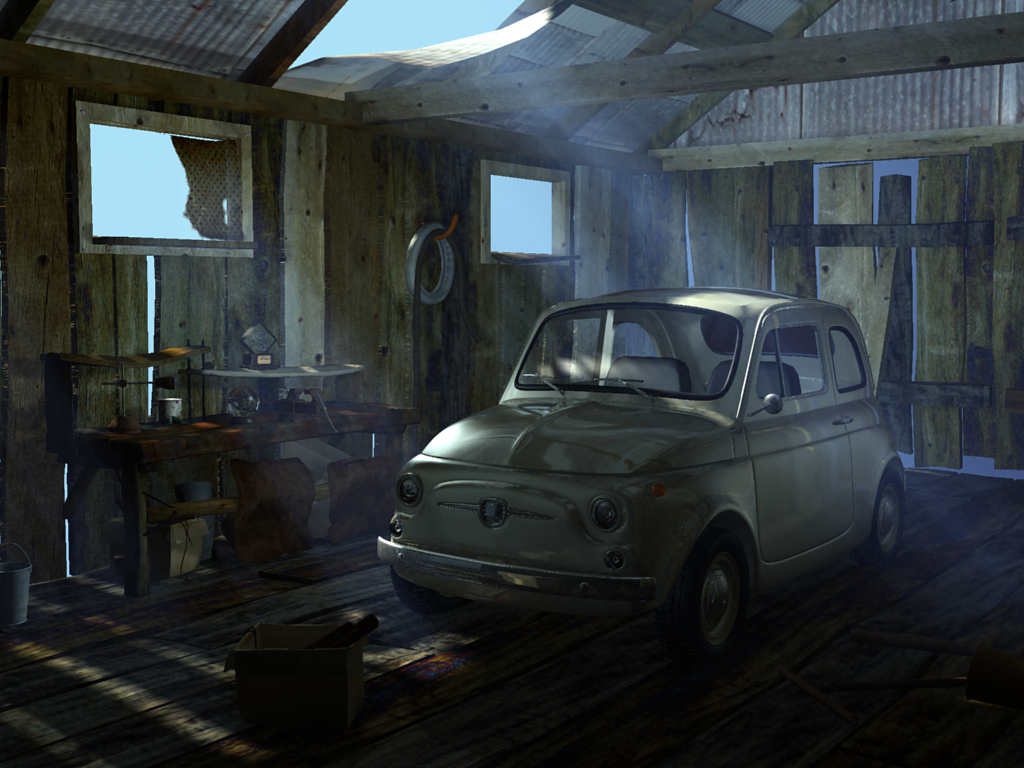 The idea is similar to Brazil_Final, except the renderer. Settings:
8. FR_Preview Again a draft version of the final scene. The following settings are changed (reducing the rendering quality):
Scenes for Scanline (3ds max 5 renderer)1. Scanline_Volume_Light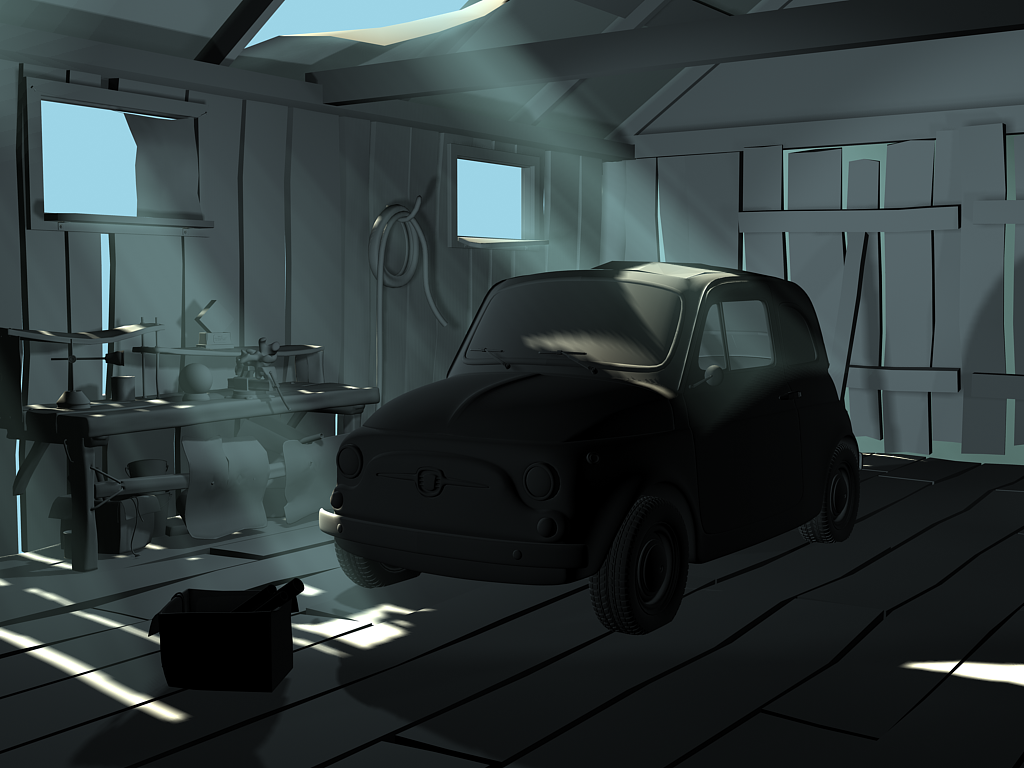 The idea is identical to FR_Volume_Light, only the renderer is taken from 3ds max. Settings:
2. Scanline_Light_Tracer Simple light provided by the 3ds max renderer. Settings - Ray/Sample: 300. 3. Scanline_Radiosity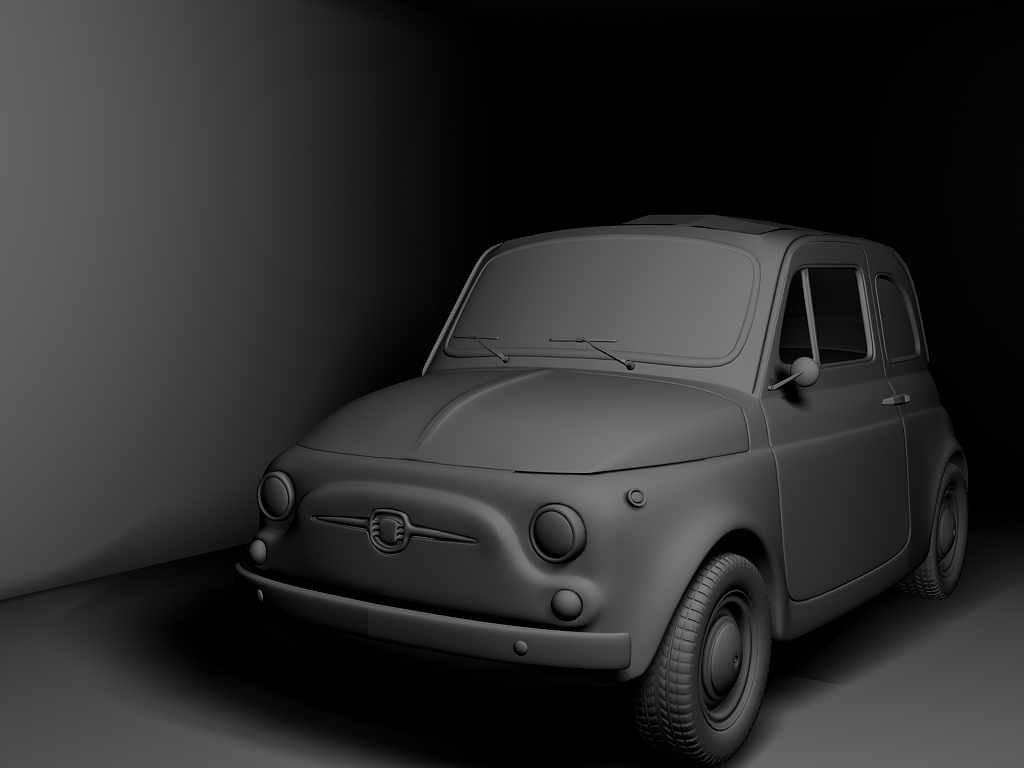 This is a more advanced version of Global Illumination supported by 3ds max renderer. Note that a light map must be applied before rendering with Scanline renderer. It takes the most part of time, that is why the given test is the only one where we use a stopwatch. 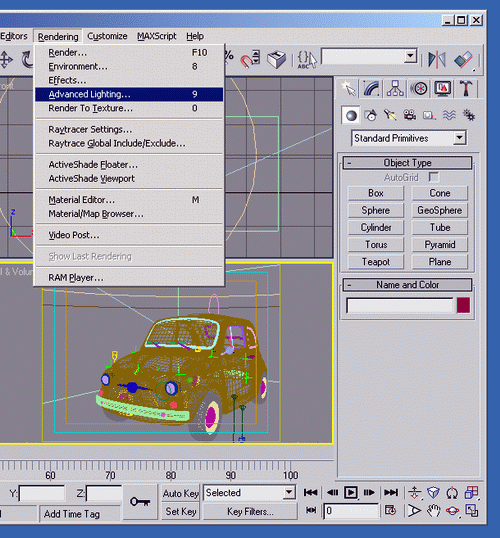 ...first we select a required item in the menu... ...press "Start" and note the time... ...get the calculated light map with the given parameters... ...and then press F9 to get the final results.The result is the total time of execution of Advanced Lighting --> Radiosity and operation of the renderer. Settings:
4. Scanline_Final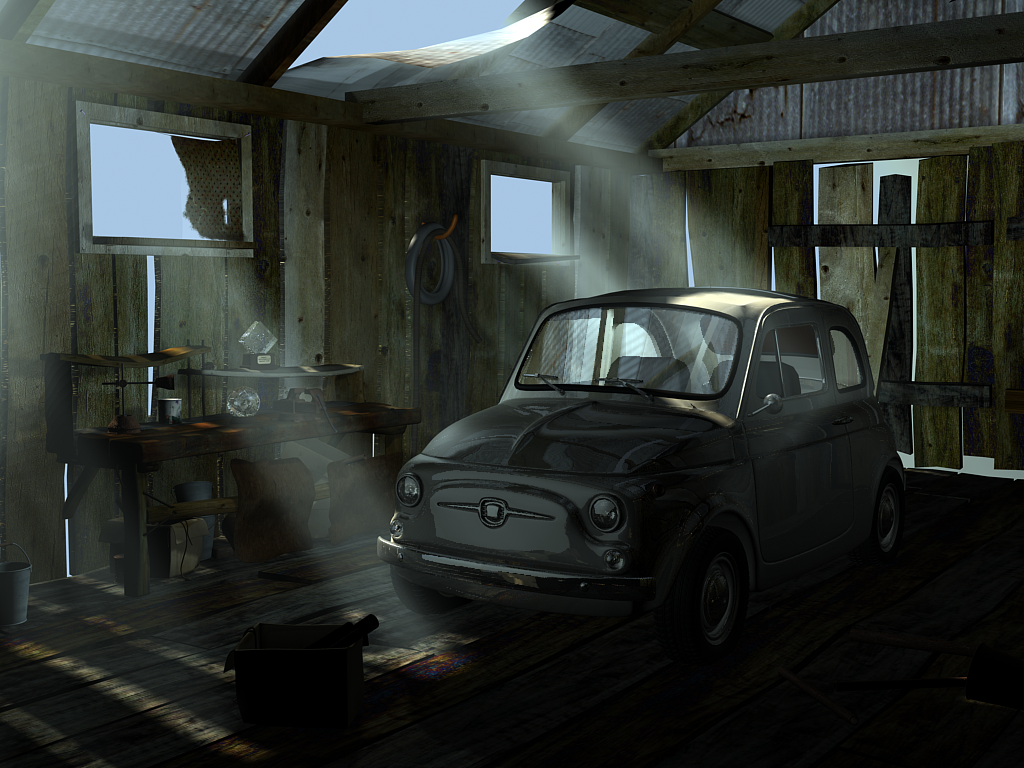 The final scene is identical to the two previous ones - the developer says that this is a "parody of GI from Scanline in the form of Light Tracer". There are also several materials with the Raytrace effect. Plus, AA by the same Scanline renderer. Parameters:
5. Scanline_Preview The standard preview algorithm of accelerated rendering with some variations:
AntialiasingAA parameters on all scenes for Brazil except Preview:
AA parameters on all scenes for Final Render except Preview:
AA parameters on all scenes for Scanline except Preview:
SummaryThe technique developed by the guys from the iXBT.com CPU section and 3D designer Igor (mazai) Emelianenko fully tests performance of modern computer systems based on the x86 architecture at the final scene rendering in one of the most popular 3D design suites - 3ds max. In contrast to most other techniques where the final rendering in 3ds max is considered as one of subtests of the general-purpose test technique this one uses 18 scenes and three popular renderer for 3ds max - one integrated and two external, instead of just one scene for one renderer. So, in spite of the complex and time-taking tests this technique allows to deeply study the issue of performance of computer systems in 3ds max. On the other hand, <...>_Final scenes are very close to realistic models, and this fact lets us shorten the test technique to 3 tests to make it a part of a more universal technique. Notes, additions, files, and materials based on the test technique:
Stanislav Garmatyuk (nawhi@ixbt.com)
Write a comment below. No registration needed!
|
Platform · Video · Multimedia · Mobile · Other || About us & Privacy policy · Twitter · Facebook Copyright © Byrds Research & Publishing, Ltd., 1997–2011. All rights reserved. |